Device Provisioning with Clovity's Configuration Platform

Learn how easy it is provision devices and create triggers using our powerful CCP platform.

CUSTOMIZE AND SET UP YOUR SOLUTION EASILY WITH CCP

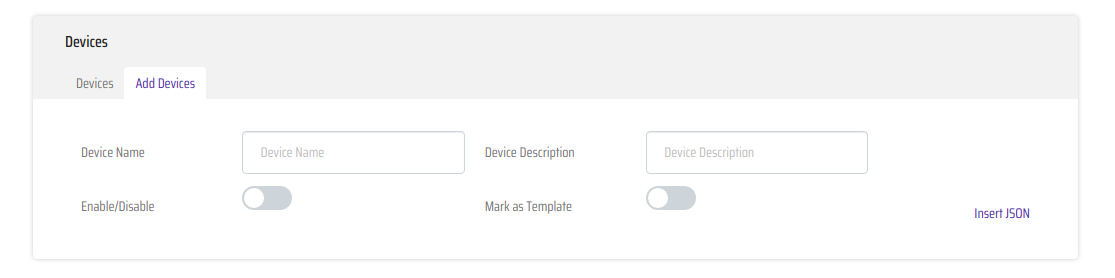
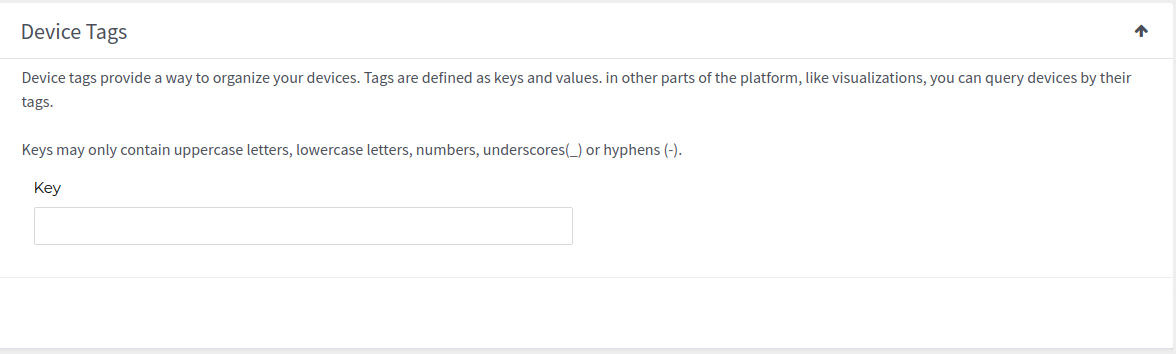
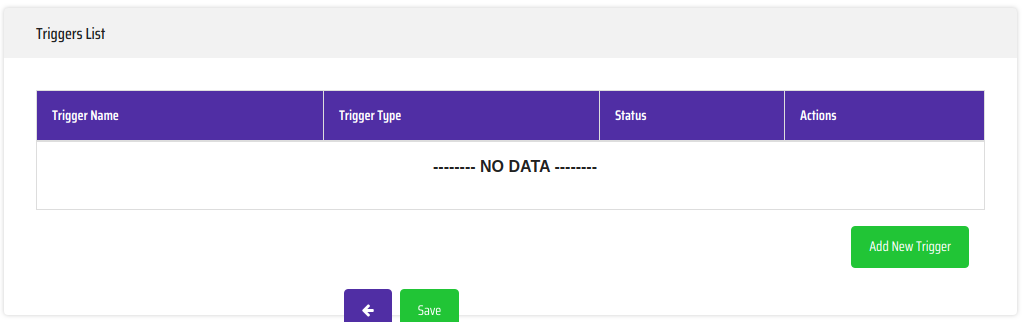
In this section, we will explain how to provision a device in Clovity Configuration Platform. A device inputed to CSensorNet will have properties such as name, description, tags, attributes, and triggers. To create a device, all you will need its name, description, and at least one attribute. Let’s go step by step to see how a device is added in CCP:

Once you have logged into CCP (See Login Procedure for more details.)

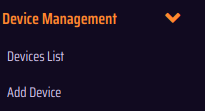
Click on "Device Management" in the main menu to access the device-related operations in CCP. The screenshot below will assist in identifying the correct link:

ADD DEVICES SEAMLESSLY

All the device-related capabilities should be visible now. Click on the Add Device button in the device function list to start adding a device to the CSensorNet. The screenshot below would help you in identifying the correct link:

Then you will be presented with a form where all information needed for creating a device should be filled in. Let’s walk through the page section-by-section:

COMPONENTS NEEDED TO ADD A NEW DEVICE

Then a form will be presented so that you can fill out all of the information needed for creating a device. Let’s walk through the page section-by-section:

  • Device Name: An alpha-numeric string which would help in identifying the device by name.
  • Device Description: Purpose/Function of the device
  • Mark as Template: If you intend to create a template instead of a device. This template can then be later used to create devices in bulk. For now, let’s keep it unchecked. For more information in templates, please refer to Templates in CCP.
  • JSON profile:The data-profile of the device. This is generally provided as part of the data-sheet or manual by the device manufacturer. The profile is perhaps the most important thing as these fields will be referenced by all the subsequent modules like Data Management, Visualization, Analytics etc. One should be extra careful when submitting the profile which device provisioning. For example, here is the data profile for TI Sensor.
  • Once you click on the Parse button, all attributes will be added automatically along with their path in the JSON. The system will then try to figure out the data type (Number/String etc.) of the attribute automatically.

ASSIGNING ACTIONS

As stated above, once you hit the Parse button all attributes will be added automatically along with their path in the JSON. The system will also try to figure out the data type (Number/String etc.) of the attribute.

ATTRIBUTE UPLOADING

CCP allows you to upload attributes for a device in two ways. One is to provide the data-profile in JSON-format (same as above). This method will create all the attributes in one action and list them in the attributes section of the form. The other way is to manually add each attribute in this section. This is an advanced feature wherein the user has more control on what attributes can be part of the data profile being registered with CCP. The user will need to provide the following information for each row:

  • Path: The location of the attribute in the JSON profile of the device. e.g. In the TI Sensor data profile, the path for temperature is
  • Name: Alphanumeric string to uniquely identify the attribute of the device
  • Type: Whether the value being held by the attribute is a String or a Number
  • Action: Currently, the system allows you to even remove an attribute after it has been added to the device. This functionality has been provided to remove any attributes if added mistakenly or if the attribute is not desired for the solution.

DEVICE TAGGING

Device tags provide a way to organize your devices. Tags are defined as keys and values. In other parts of the system like visualization, you can query devices by these tags.

CREATING TRIGGERS

The job of most of the sensors/devices is to produce the data. They do not have any intelligence built in that could allow them to receive commands from the external stimuli and take action. However, there are scenarios where we would need to send commands to devices to perform certain functionality once a certain threshold is reached. There is abundance of examples to support this type of use case. Take in to consideration a Smart Home system where the resident wants to automatically shut down the lights of the entire home if he or she has initiated automatic locking of the dwelling utilizing a smart front door lock. In this case, the smart lock is the trigger and the response is to send the command to all the lighting devices to power down. When adding a trigger, you would need to supply the values for the following parameters:

  • Trigger Name: Unique name for the trigger of that device.
  • Trigger Script:Script to be executed as part of the trigger
  • Status: Status of the trigger whether it is enabled or disabled for the device
  • Action: Currently, the system allows you to even remove a trigger after it has been added to the device. This functionality has been provided to remove any triggers if added mistakenly or are not needed.

Connect With CSensorNet Experts

Talk to an Expert

Using CSensorNet is simple and turnkey, however there are times when Clovity may need to step in to help with a particular integration or feature set up. The development experts at Clovity can guide or take over the action to ensure that CSensorNet is fitting our clients needs precisely. Reach out to us for help, we are always ready to assist.

Request a Demo of CSensorNet

Nothing is better than seeing a particular technology in action to judge its value. Schedule some time with our CSensorNet experts to show you how our solution can bring your connected device initiatives to life in a matter of days or weeks, not months or years.
 

Download our complete IoT whitepaper.

Lorem Ipsum has been the industry's standard dummy text ever since the 1500s, when an unknown printer took a galley of type and scrambled.

LEARN MORE